Accessing Multiple AI Models Through a Single API Connection
Why a Single API for Multiple Models Makes Sense
Working with different AI models from various providers usually means managing several API keys, learning different request formats, and juggling multiple endpoints. Each model may require its own authentication method, base URL, and request schema. This adds overhead, especially when you want to compare outputs from different models or switch between them based on task requirements. The idea of multi model API access simplifies this: one consistent interface lets you send requests to many models without changing your core code. You authenticate once, structure your request the same way, and get back responses in a familiar format. This approach saves development time and reduces the surface area for errors.
What You Need Before You Start
Before writing any code, you need a few things in place. First, an API key from a service that provides multi model API access. This key will be used for authentication in every request. Second, a list of model identifiers for the models you intend to use. These identifiers tell the API which model to invoke. Third, a basic understanding of REST requests and the JSON structure for input and output. You don't need to be an expert, but knowing how to construct an HTTP request and parse a JSON response will help. Finally, choose a programming language or tool that supports HTTP calls. Most languages have libraries or built-in functions for this, such as Python's requests library, JavaScript's fetch, or curl on the command line.
Step 1: Obtain Your API Key and Configure Authentication
The first practical step is to sign up for the service that offers the unified API. After registration, you will receive an API key. Keep this key secure. Do not hardcode it directly in your source code if the code is shared or committed to a public repository. Environment variables or a configuration file outside version control are better options. When you make a request, the API key is typically sent in an HTTP header, often named Authorization with a value like Bearer YOUR_API_KEY. Some services may use a different header name, so check the documentation. The key point is that one key authenticates you for all models available through that service, so you don't need separate credentials for each provider.
Step 2: Understand the Request Schema
The unified API will define a standard request format. This is usually a JSON object with fields such as model, messages or prompt, max_tokens, temperature, and others. The model field holds the model identifier, which tells the API which specific AI model to use. The other fields control the generation parameters. One important aspect is that the request schema stays the same regardless of which underlying provider the model belongs to. For example, a request to a text-generation model from one provider looks structurally identical to a request to a similar model from another provider. This uniformity is the core benefit of multi model API access. You can write one function that builds a request object, and only change the model identifier to target a different model.
Step 3: Choose Your Model Identifier
Each model available through the unified API has a unique identifier. This identifier is a string like gpt-4, claude-3-opus, or something specific to the service. The documentation lists all available model identifiers. When you set the model field in your request, you are essentially telling the API which provider and which model to invoke. This is where the flexibility shines. You can start with a cost-effective model for initial experiments and switch to a more capable model for production tasks, all by changing a single string. Be aware that not all models support the same features. For instance, an image generation model expects different parameters than a text completion model. The request schema may have optional fields for these differences, or the API might ignore fields that are not relevant to the chosen model. Read the documentation to understand which parameters apply to which model types.
Step 4: Send the Request and Handle the Response
With your API key, request schema, and model identifier ready, you construct the HTTP request. The endpoint URL is the same for all models. You send a POST request with the JSON body and the authentication header. The API processes the request, routes it to the appropriate provider, and returns a response in a standardized format. The response typically includes the generated content, token usage statistics, and the model identifier used. Because the response format is consistent, your code can parse it the same way for every model. This makes it straightforward to log results, compare outputs, or feed the response into further processing steps.
Something to watch for is the rate limits and latency differences between models. A smaller, faster model may respond in under a second, while a large multimodal model could take several seconds. Your application should handle timeouts gracefully and possibly implement retry logic for transient failures. Also note that some models have different pricing tiers, but since you are not using a subscription or per-request fee, the cost structure may be based on usage tiers or competitive pricing. The unified API may handle billing centrally, so you don't need to manage multiple accounts.
Step 5: Integrate with an SDK for Convenience
Many services that offer multi model API access provide software development kits (SDKs) for popular languages. An SDK wraps the HTTP calls, handles authentication, and often provides helper functions for building requests and parsing responses. Using an SDK can reduce the amount of boilerplate code you need to write. It also ensures that you are using the correct endpoints and request formats as the API evolves. If you prefer to work directly with the REST API, that is fine too. The SDK is optional but can speed up development, especially if you are working with multiple endpoints or complex request schemas. When choosing an SDK, check that it supports the models you intend to use and that it is actively maintained.
Common Pitfalls to Avoid
One common mistake is assuming that all models behave identically. Even though the request format is the same, the underlying models have different strengths and weaknesses. A model that excels at creative writing may not be the best for factual summarization. Test your use case with a few different models before committing to one. Another pitfall is neglecting to update the model identifier when you switch providers. It is easy to forget to change the string and accidentally use a model you did not intend. A good practice is to store the model identifier in a configuration variable so it is easy to change in one place. Also, be mindful of the token limits and context windows of different models. A request that works for a model with a large context window might fail for a model with a smaller one. Always check the documentation for each model's limits.
Another issue is authentication errors. API keys can expire or be revoked. If you start getting 401 or 403 status codes, verify that your API key is still valid and that it is being sent correctly in the header. Sometimes the key needs to be included in the request body or as a query parameter, but the standard practice is a header. Use a tool like curl to test the endpoint manually before integrating it into your application. This isolates network or configuration issues from your code logic.
When to Use a Multi Model API
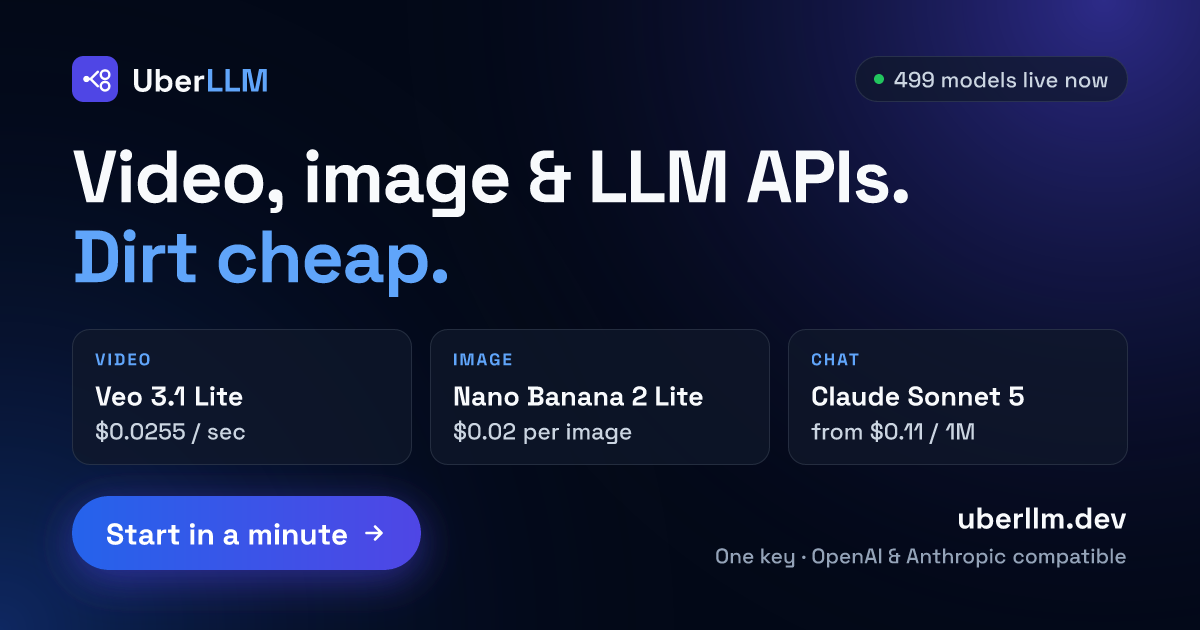
This approach is particularly useful when you are building applications that need to compare outputs from different models, or when you want to offer users a choice of models without building separate integrations for each. It also helps when you are prototyping and want to quickly test which model gives the best results for your task. Another scenario is when you want to future-proof your application. As new models become available, you can add them by simply updating the model identifier list, without rewriting large parts of your codebase. The unified API provided by UberLLM, for example, gives you a single point of access to models from competing sellers, with no subscription or per-request fee. This means you can experiment freely and switch models as your needs change, without being locked into one provider's ecosystem.
That said, there are situations where a dedicated API from a specific provider might be preferable. If you need deep integration with that provider's specific features, such as fine-tuning or custom endpoints, the unified API may not expose those capabilities. Also, if you are operating at very high volumes, the routing layer of a unified API could introduce marginal latency compared to calling the provider directly. For most applications, though, the convenience and flexibility of multi model API access outweigh these considerations.
Putting It All Together
The steps are straightforward: get your API key, learn the request schema, pick your model identifiers, send requests, and handle responses. The real value comes from the reduced complexity in your codebase. Instead of maintaining separate modules for each AI provider, you have one module that talks to one endpoint. This makes your application easier to maintain, test, and extend. As you build out features, you can focus on the logic that matters for your users, rather than on the plumbing of different APIs. The key is to start simple, test with a single model, and then gradually expand to others as you gain confidence.
Multi model API access is not just a convenience; it is a design choice that keeps your architecture flexible. Whether you are building a chatbot, a content generation tool, or an image analysis pipeline, having a single API connection to multiple models simplifies development and future changes. The same authentication, the same request format, and the same response parsing work across a range of models. That consistency is what makes this approach powerful for developers who want to stay agile in a rapidly evolving field.